
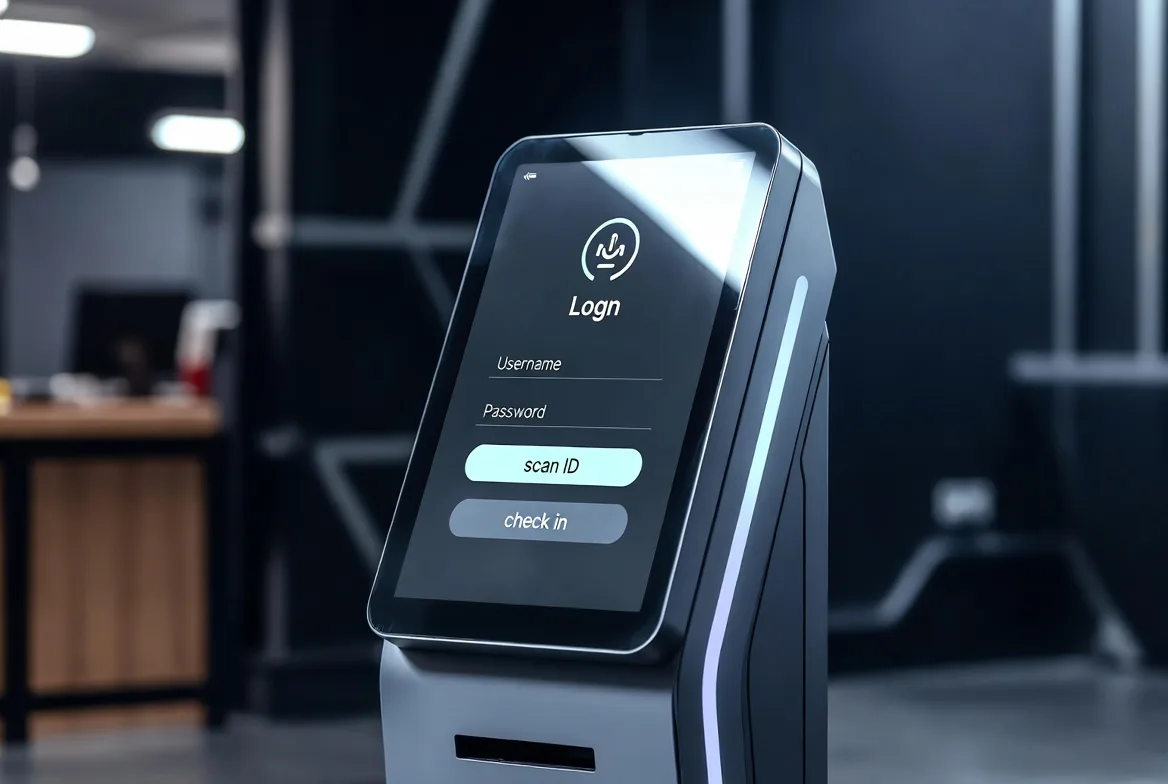
Your Lobby,
Defense Grade
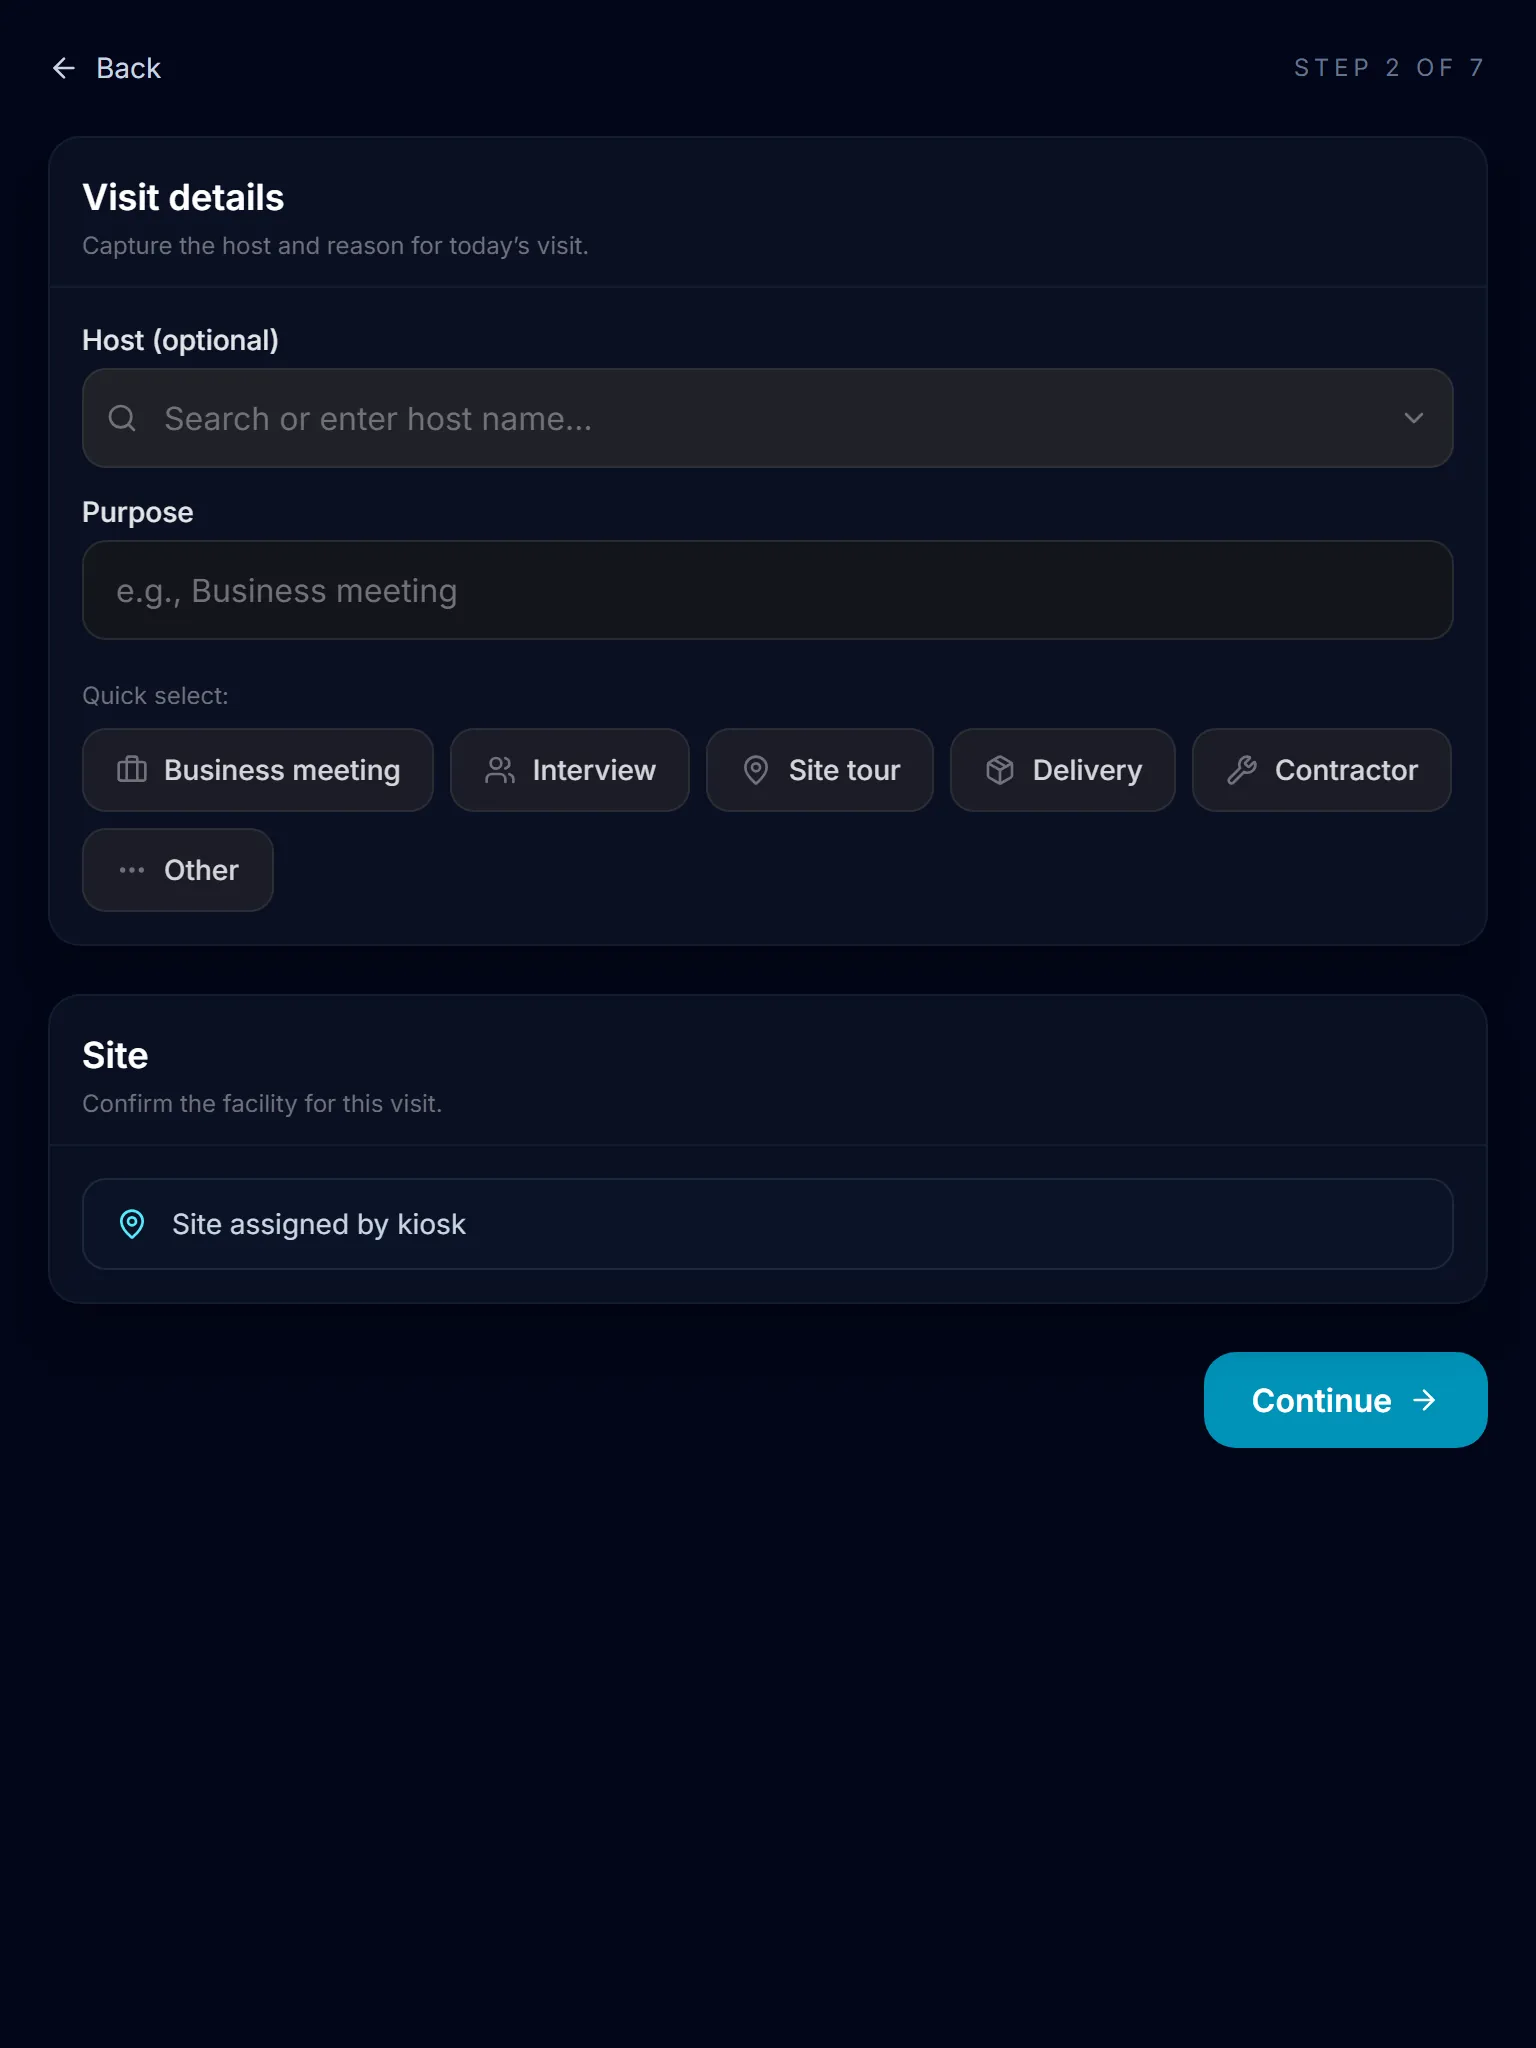
The screen a visitor actually sees
Portrait tablet, one question at a time, with a step counter so nobody wonders how much is left.
Watch a walk-in check in
No invite needed: the visitor starts with their photo ID, and the kiosk walks them through the rest.
Read the transcript
Not every visitor is invited ahead of time. At the lobby kiosk, a walk-in starts by scanning their photo ID.
Their name fills in from the ID. They add their company and a way to reach them, then find the person they're here to see.
At an export-controlled site, they also give their country of citizenship and confirm the attestation the site requires.
Then they read and sign the visitor agreement and take a badge photo.
SecurePoint screens them against sanctions and restricted-party lists. Once they're cleared, the kiosk checks them in.
Their host gets an email that they've arrived, and the front desk sees them on site, with their photo and ID on file.
SecurePoint Visitor. Screen visitors at check-in, and keep the decisions on record.
Features you might have missed
Device declarations, badge photos on the visitor’s own phone, larger agreement text, hold alerts and the end-of-day close.
Read the transcript
Sites can ask visitors to declare restricted devices, like phones, cameras and laptops, and say where each one will be kept during the visit.
At the front desk, staff can record a declaration too, and it's saved with the visit.
Turn on phone photos, and visitors can take their badge photo on their own phone: scan the code, take the picture, and it appears on the kiosk.
Visitors can make the agreement text larger while they read.
When a visit is held, your compliance team gets an alert email, and, on plans with SMS, a text message too.
At each site's closing time, visits still open are closed and marked as not seen leaving, unless a review is still open, and a daily summary goes out.
SecurePoint Visitor. Screen visitors at check-in, and keep the decisions on record.
How-tos for the lobby
Short, step-by-step videos for visitors at the kiosk and the staff who set it up.
Check in with your QR code
Read the transcript
Step 1. At the kiosk, tap Scan ID or QR, and show the QR code from your email.
Step 2. Your details fill in from your invitation. Check them, then continue.
Step 3. If the kiosk asks, scan the front of your photo ID.
Step 4. If an NDA appears, read it. You can make the text bigger, and you sign at the end.
Step 5. Answer any questions your site asks, then take your badge photo if asked.
When the kiosk says Checked In, you're done here. Your site can email your host that you've arrived.
Screen visitors at check-in. Keep the decisions on record.
Check out at the kiosk
Read the transcript
Step 1. When you're ready to leave, tap Check Out on the kiosk.
Step 2. Scan the QR code on your badge, or find your name in the list.
Step 3. Check that it's your visit, choose a reason if asked, then tap Confirm Checkout.
You're checked out, and your checkout time is saved with the visit.
Step 4, for admins. Keep Auto-close leftover visits on for each site. Visits still under review are left open.
Other visits left open overnight are closed and marked as having no verified departure. Your compliance contacts then get a summary email.
Screen visitors at check-in. Keep the decisions on record.
Record a visitor’s devices
Read the transcript
Step 1. An admin turns on device declarations in the site's Device Policy.
Step 2. At the kiosk, visitors say whether they've brought devices,
like phones, cameras or laptops.
Step 3. They pick each device and where it will be kept.
For a locker, they type the locker ID, then continue.
Step 4. If a declaration is missing, front desk staff can record it from the visit record.
Choose how the devices are handled, add the locker,
and save. It's saved with the visit.
Screen visitors at check-in.
Keep the decisions on record.
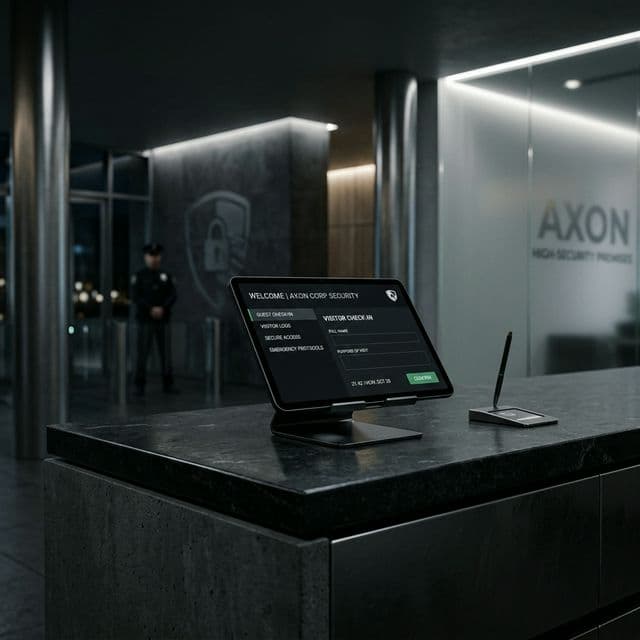
Low Friction
Minimal data collection with a clean, intuitive interface that works on any tablet or desktop browser.
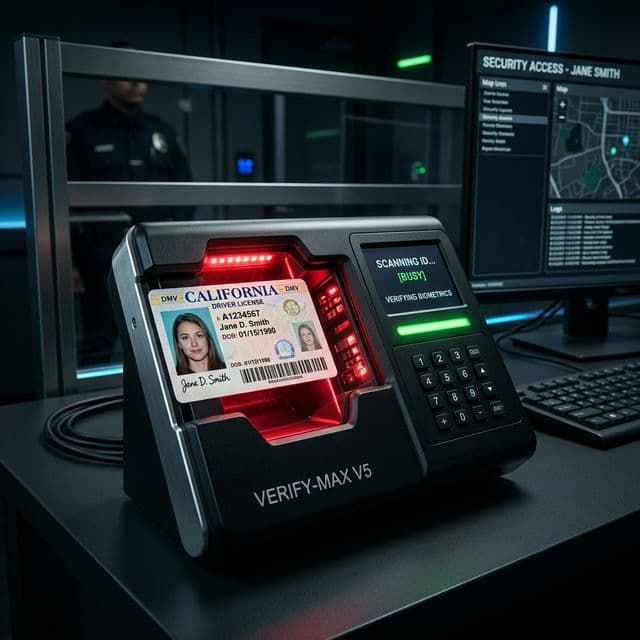
ID Verification
Automated scanning for driver's licenses and passports with optional selfie capture for identity matching.
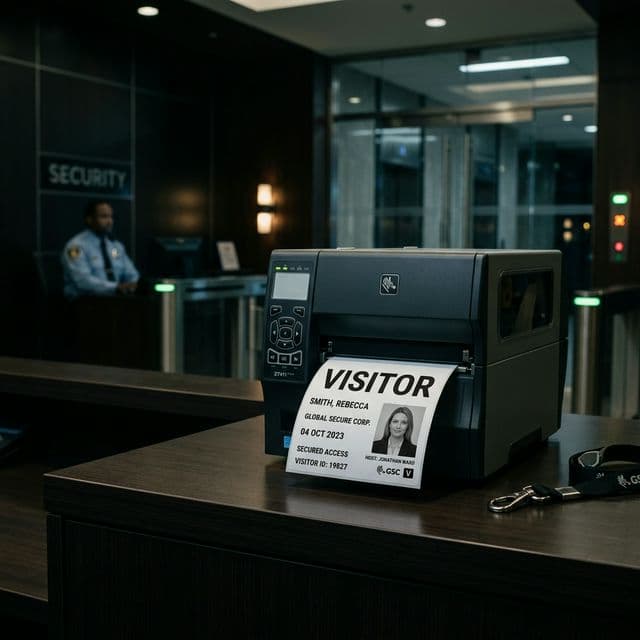
Fast Badging
Automatic badge printing with site-specific branding and visitor type indicators (Contractor, US Citizen, etc).
Secure Entry
Orchestration
Check-in is more than a guestbook. It's the point where physical security meets corporate compliance.
QR Fast Track
Pre-registered visitors check in by scanning the QR code in their email invite.
Host Alerts
Rapid notifications via SMS, Email, Teams, and Slack upon arrival.
NDA & Safety Briefings
Enforce site-specific NDAs and safety videos during registration with digital signatures.
Localization
Each site operates in its local time zone with facility-specific branding.
Automated Safety &
Legal Compliance
Don't let legal requirements slow down your lobby. SecurePoint USA automates the entire briefing and signing process directly at the kiosk.
Dynamic NDA Signing
Site-specific legal agreements displayed on-screen with digital signature capture and PDF archival.
Safety Video Briefings
Mandatory safety video playback with skip-prevention and comprehension attestations before entry.
Audit-Ready Attestations
Every signature and video completion is timestamped and linked to the visitor's record for total accountability.
Visitor NDA v2.4
Please review the safety video and sign the agreement to proceed.
Unified Front Desk
Empower your lobby staff with real-time visibility into active visits, pending arrivals, and screening holds.
Manual Overrides
Staff can manually check in visitors or manage exceptions with proper authorization.
On-Demand Screening
Screen walk-in visitors against global watchlists before granting entry.
Privacy First
Strictly minimal PII collection. No visitor data in system logs, only compliance metadata.
Modernize Your
Visitor Experience
Join the forward-thinking facilities using SecurePoint USA to protect their technical data and automate their lobby operations.
Frequently asked questions
Does the kiosk work without a receptionist?
Yes. A visitor can complete check-in at the kiosk on their own: host, purpose, site, any required documents, and photo or ID capture where the site requires them. Staff can also run the same check-in from the front desk.
What stops someone from skipping a required step?
Badge issuance is gated on the evidence the site requires. Where an NDA, a safety acknowledgment, or ID capture is configured as required, the badge is not released until those are captured. An incomplete check-in stays incomplete rather than badging anyway.
Can the kiosk print a badge on its own?
Badge printing is supported through a Brother QL-820NWB, using either the browser or Android print dialog or the PC Print Connector path, depending on how the lobby is set up.
Is the kiosk available in a light theme?
No. Kiosk routes are dark by design in the product. The screens shown on this site are the real surface rather than a light-mode mock-up of one.